Getting Started
Getting Started with PrintJourney
Welcome to PrintJourney: AI-Powered Print-on-Demand Automation
Welcome to PrintJourney, the cutting-edge platform that harnesses the power of AI to revolutionize your print-on-demand business. We're thrilled to have you on board, and this guide will walk you through the steps to get started and unlock the full potential of our AI-driven print-on-demand automation solution.
Step 1: Create Your PrintJourney Account
Before you can dive into the world of AI-powered print-on-demand automation, you'll need to set up your PrintJourney account. It's a quick and straightforward process:
- Visit the PrintJourney login page.
- Enter your email address or sign in with your Google account.
- Verify your email address by following the link sent to your inbox.
- Log in to access your brand-new PrintJourney dashboard.
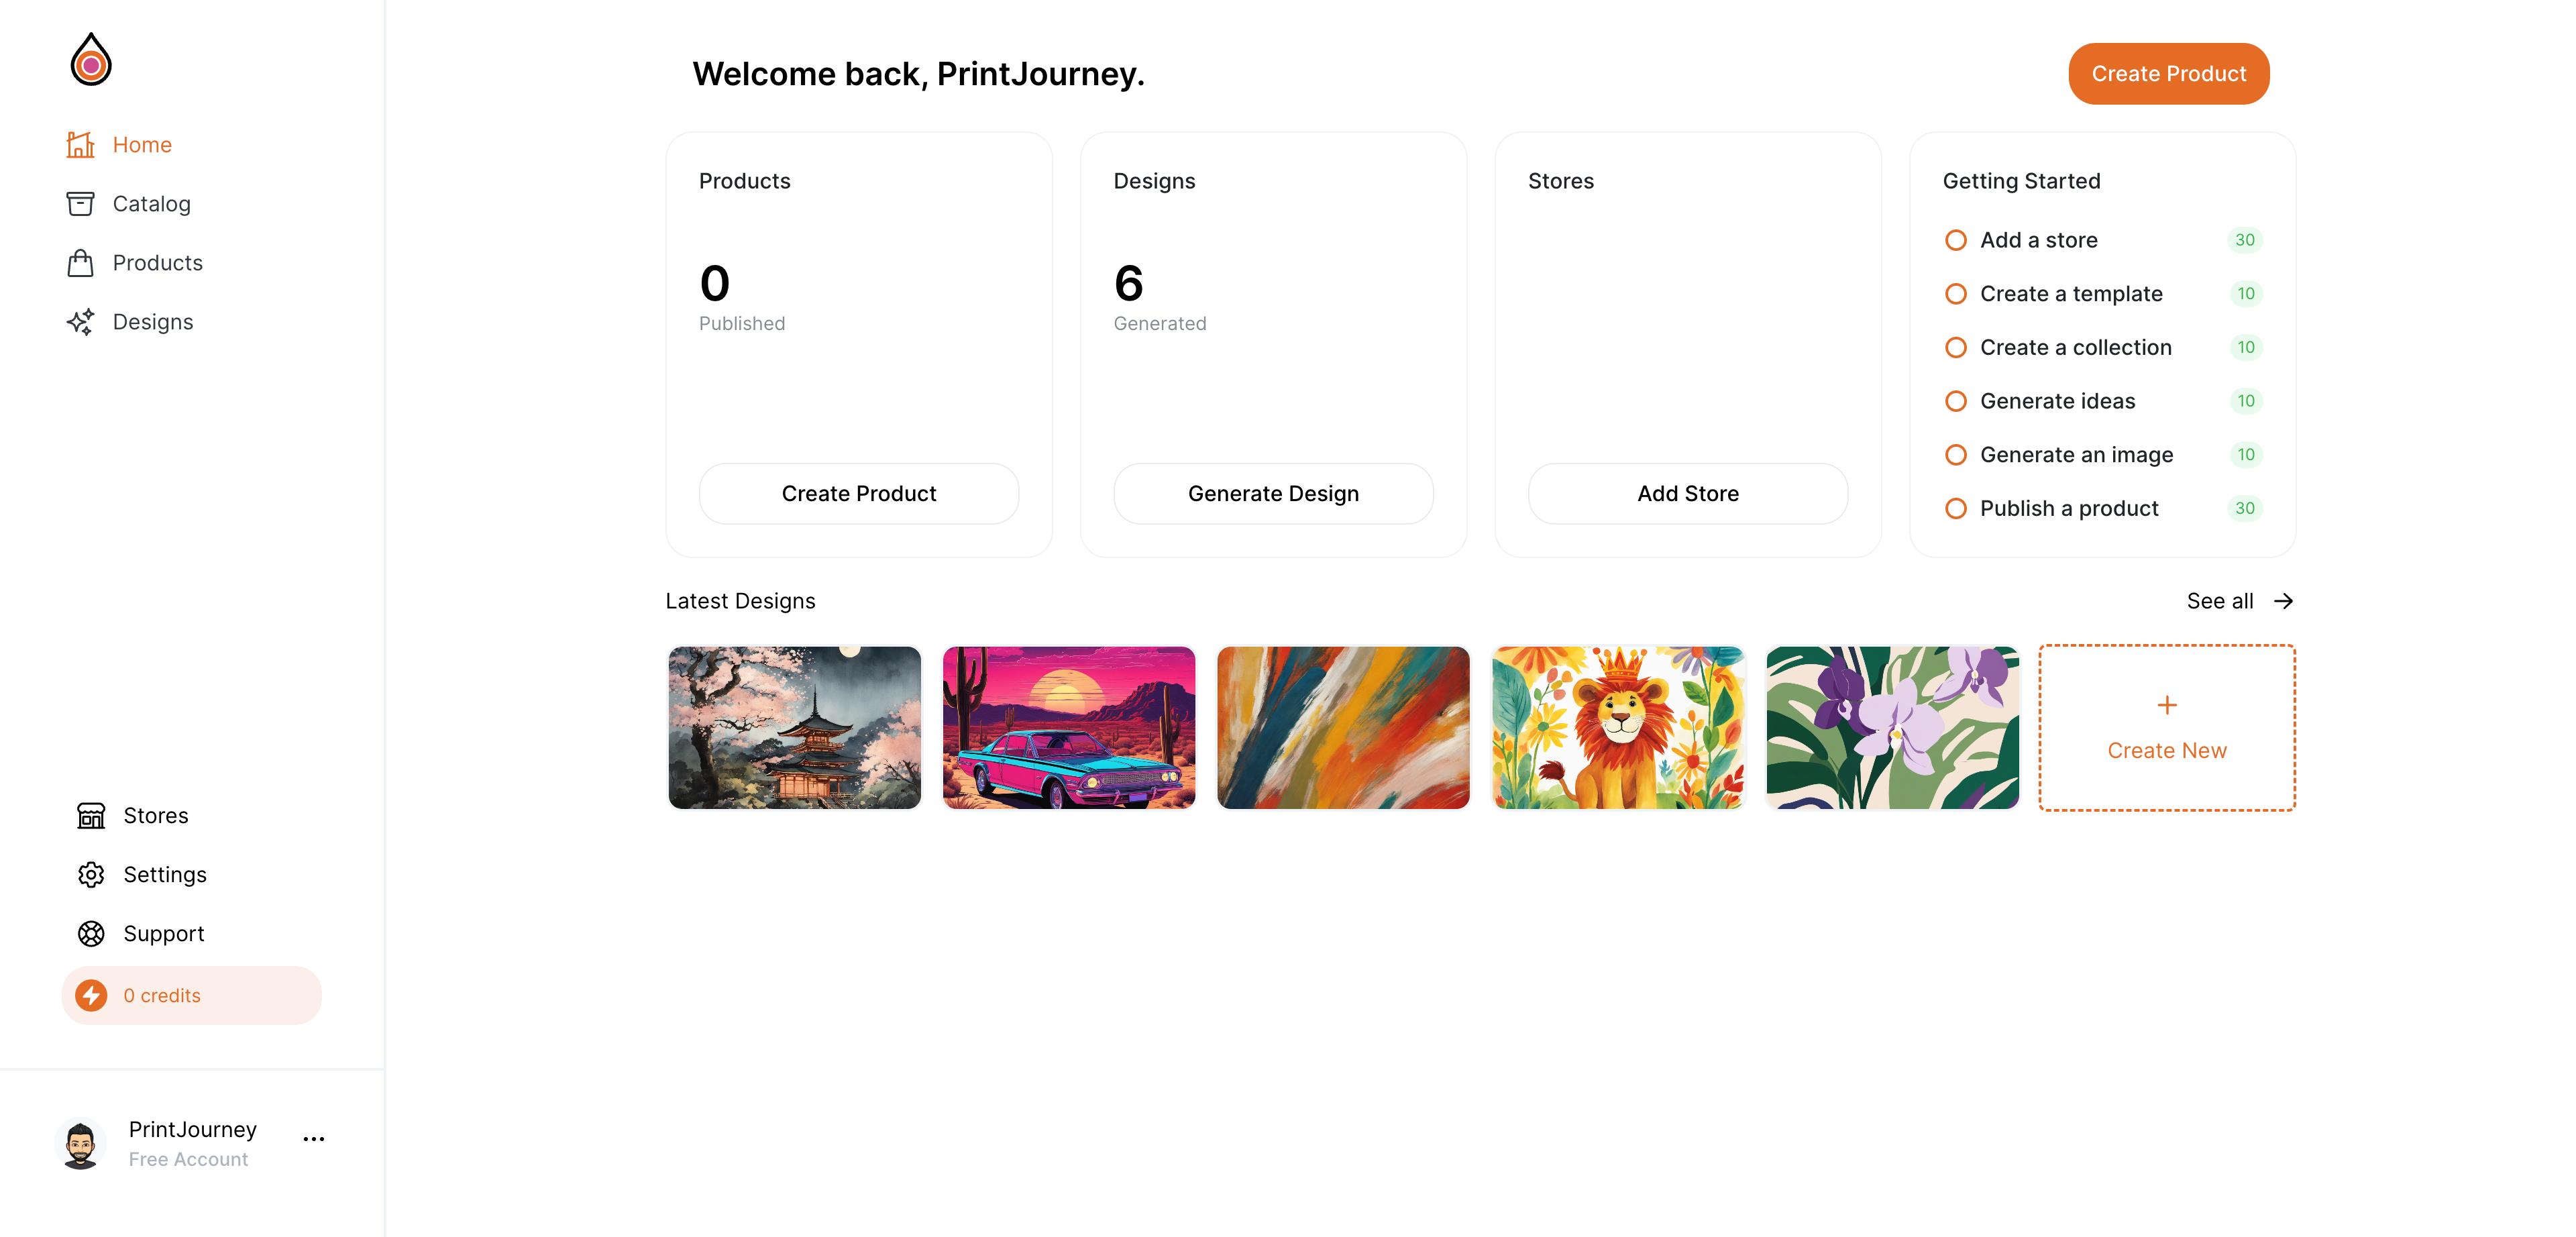
Step 2: Explore the Intuitive Dashboard
The PrintJourney dashboard is your command center for managing and automating your print-on-demand business. From here, you can:
- Track the number of published products and generated designs.
- Monitor your progress and achievements within PrintJourney.
- Earn free credits by completing onboarding tasks and engaging with features.
Take a moment to familiarize yourself with the user-friendly dashboard layout, and don't forget to check out your 'Latest Products' and 'Latest Designs' sections for a glimpse of your recent creations.
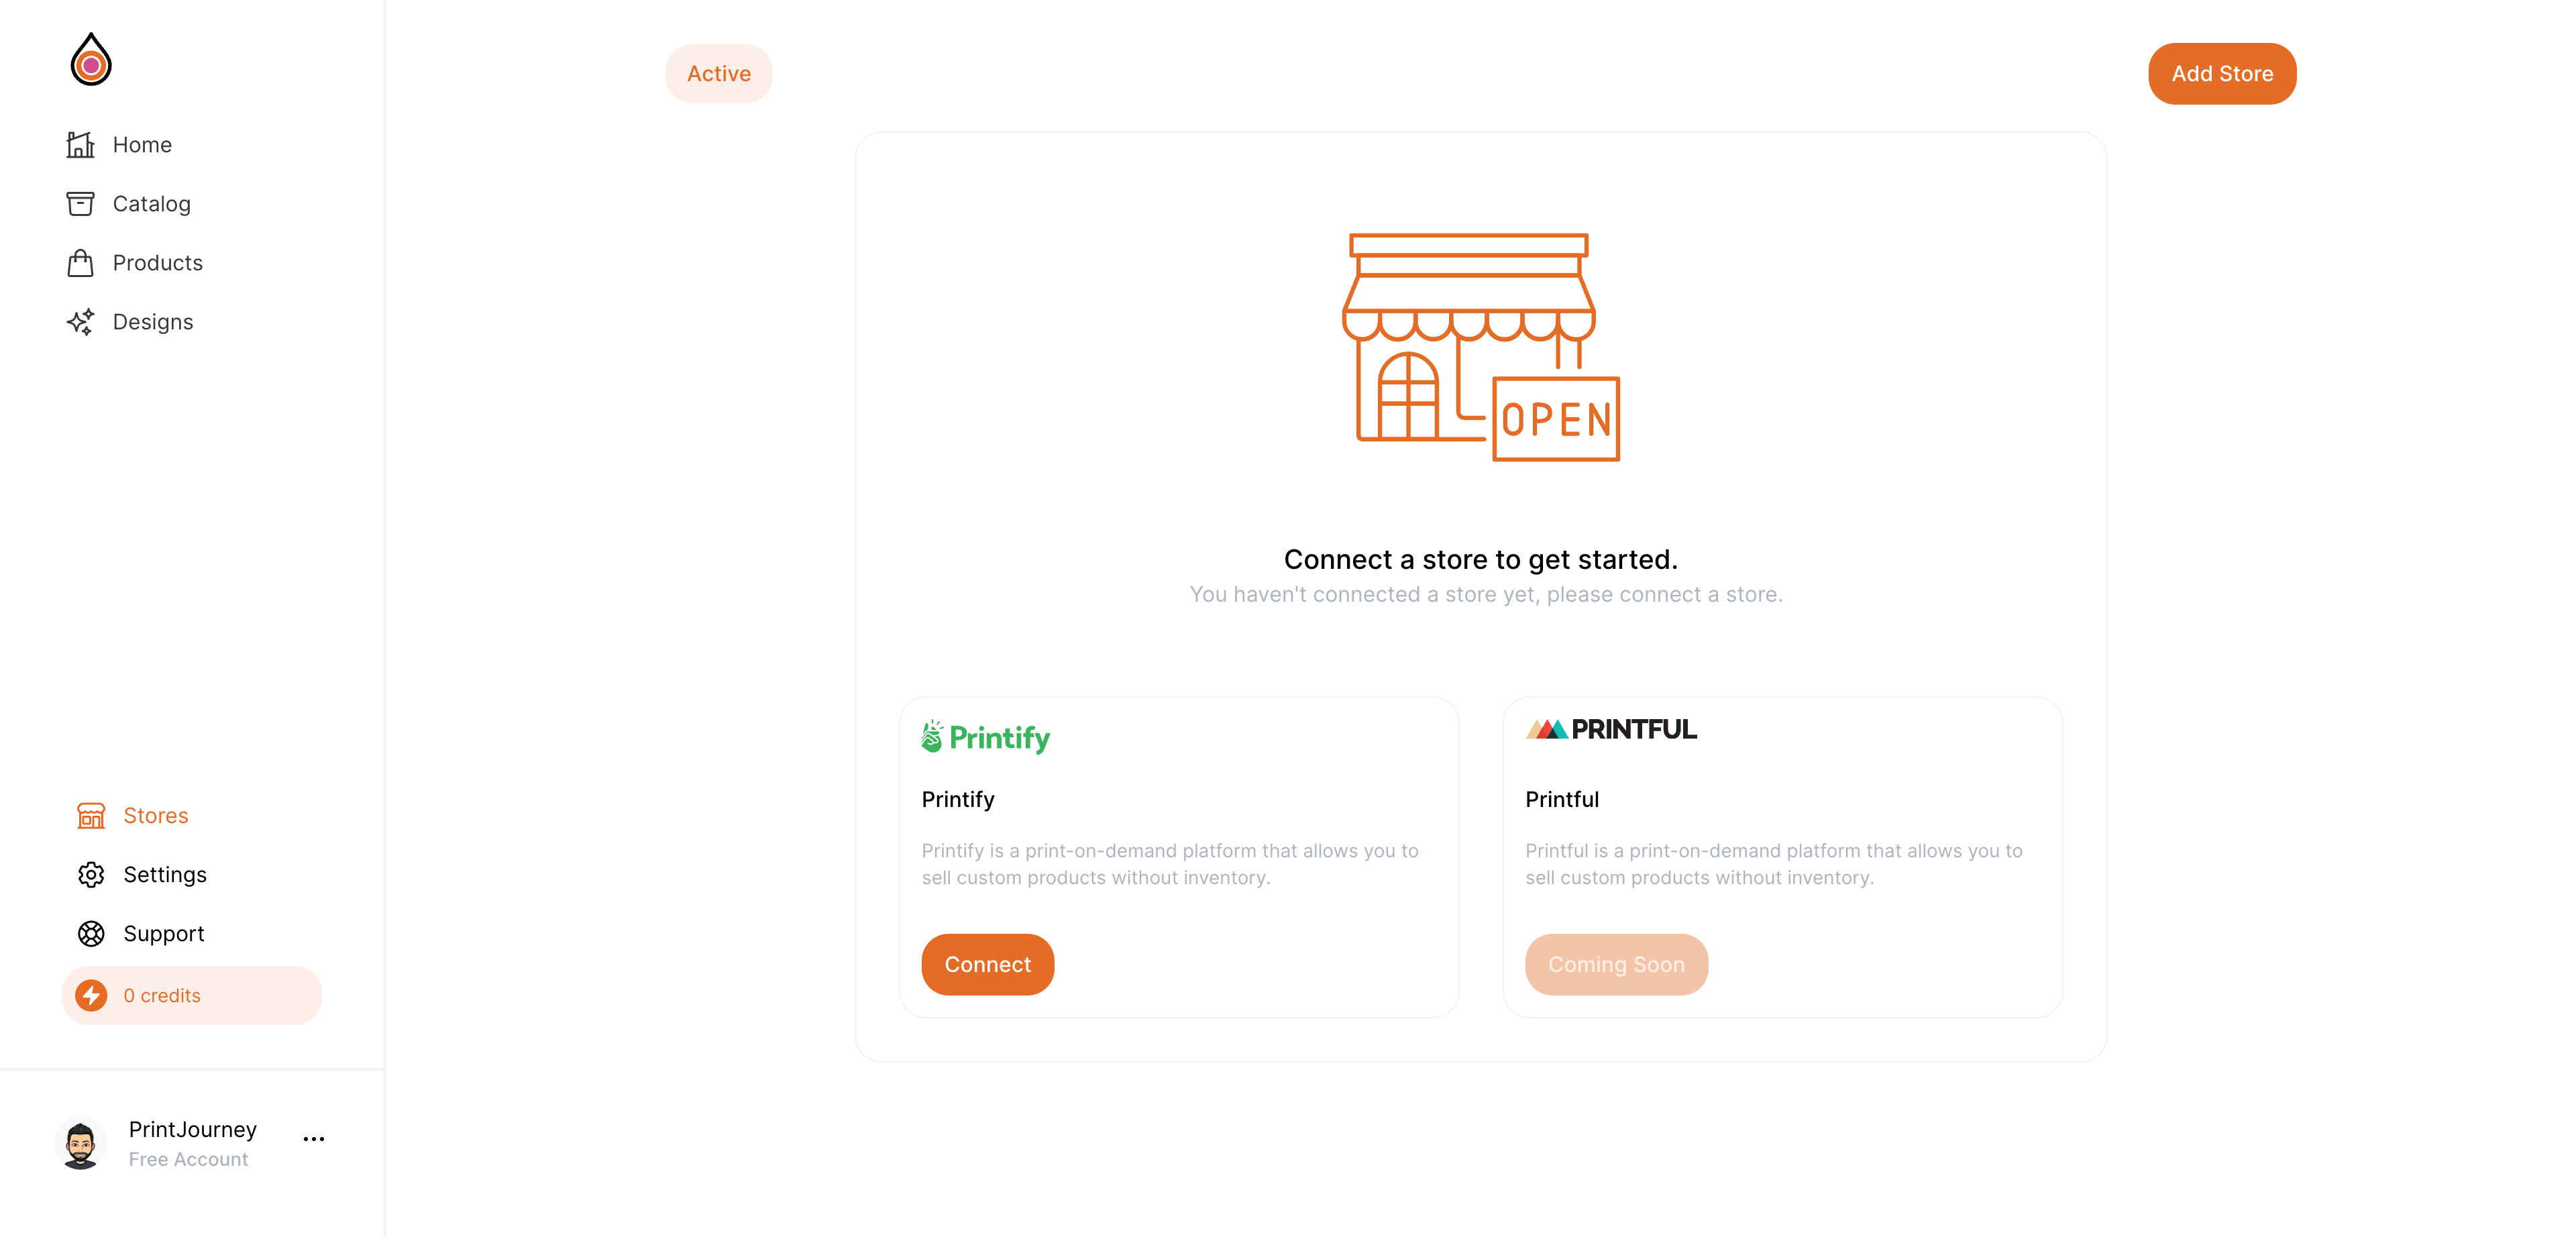
Step 3: Connect Your Online Stores
To start selling your AI-generated print-on-demand products, you'll need to connect your online stores to PrintJourney:
- Navigate to the 'Stores' section in your dashboard.
- Click 'Connect a Store' and select the platform you use (e.g., Printify, Printful).
- Follow the prompts to authorize and link your storefront with PrintJourney.
Once connected, any products you publish through PrintJourney will automatically sync with your online store, streamlining your sales process.
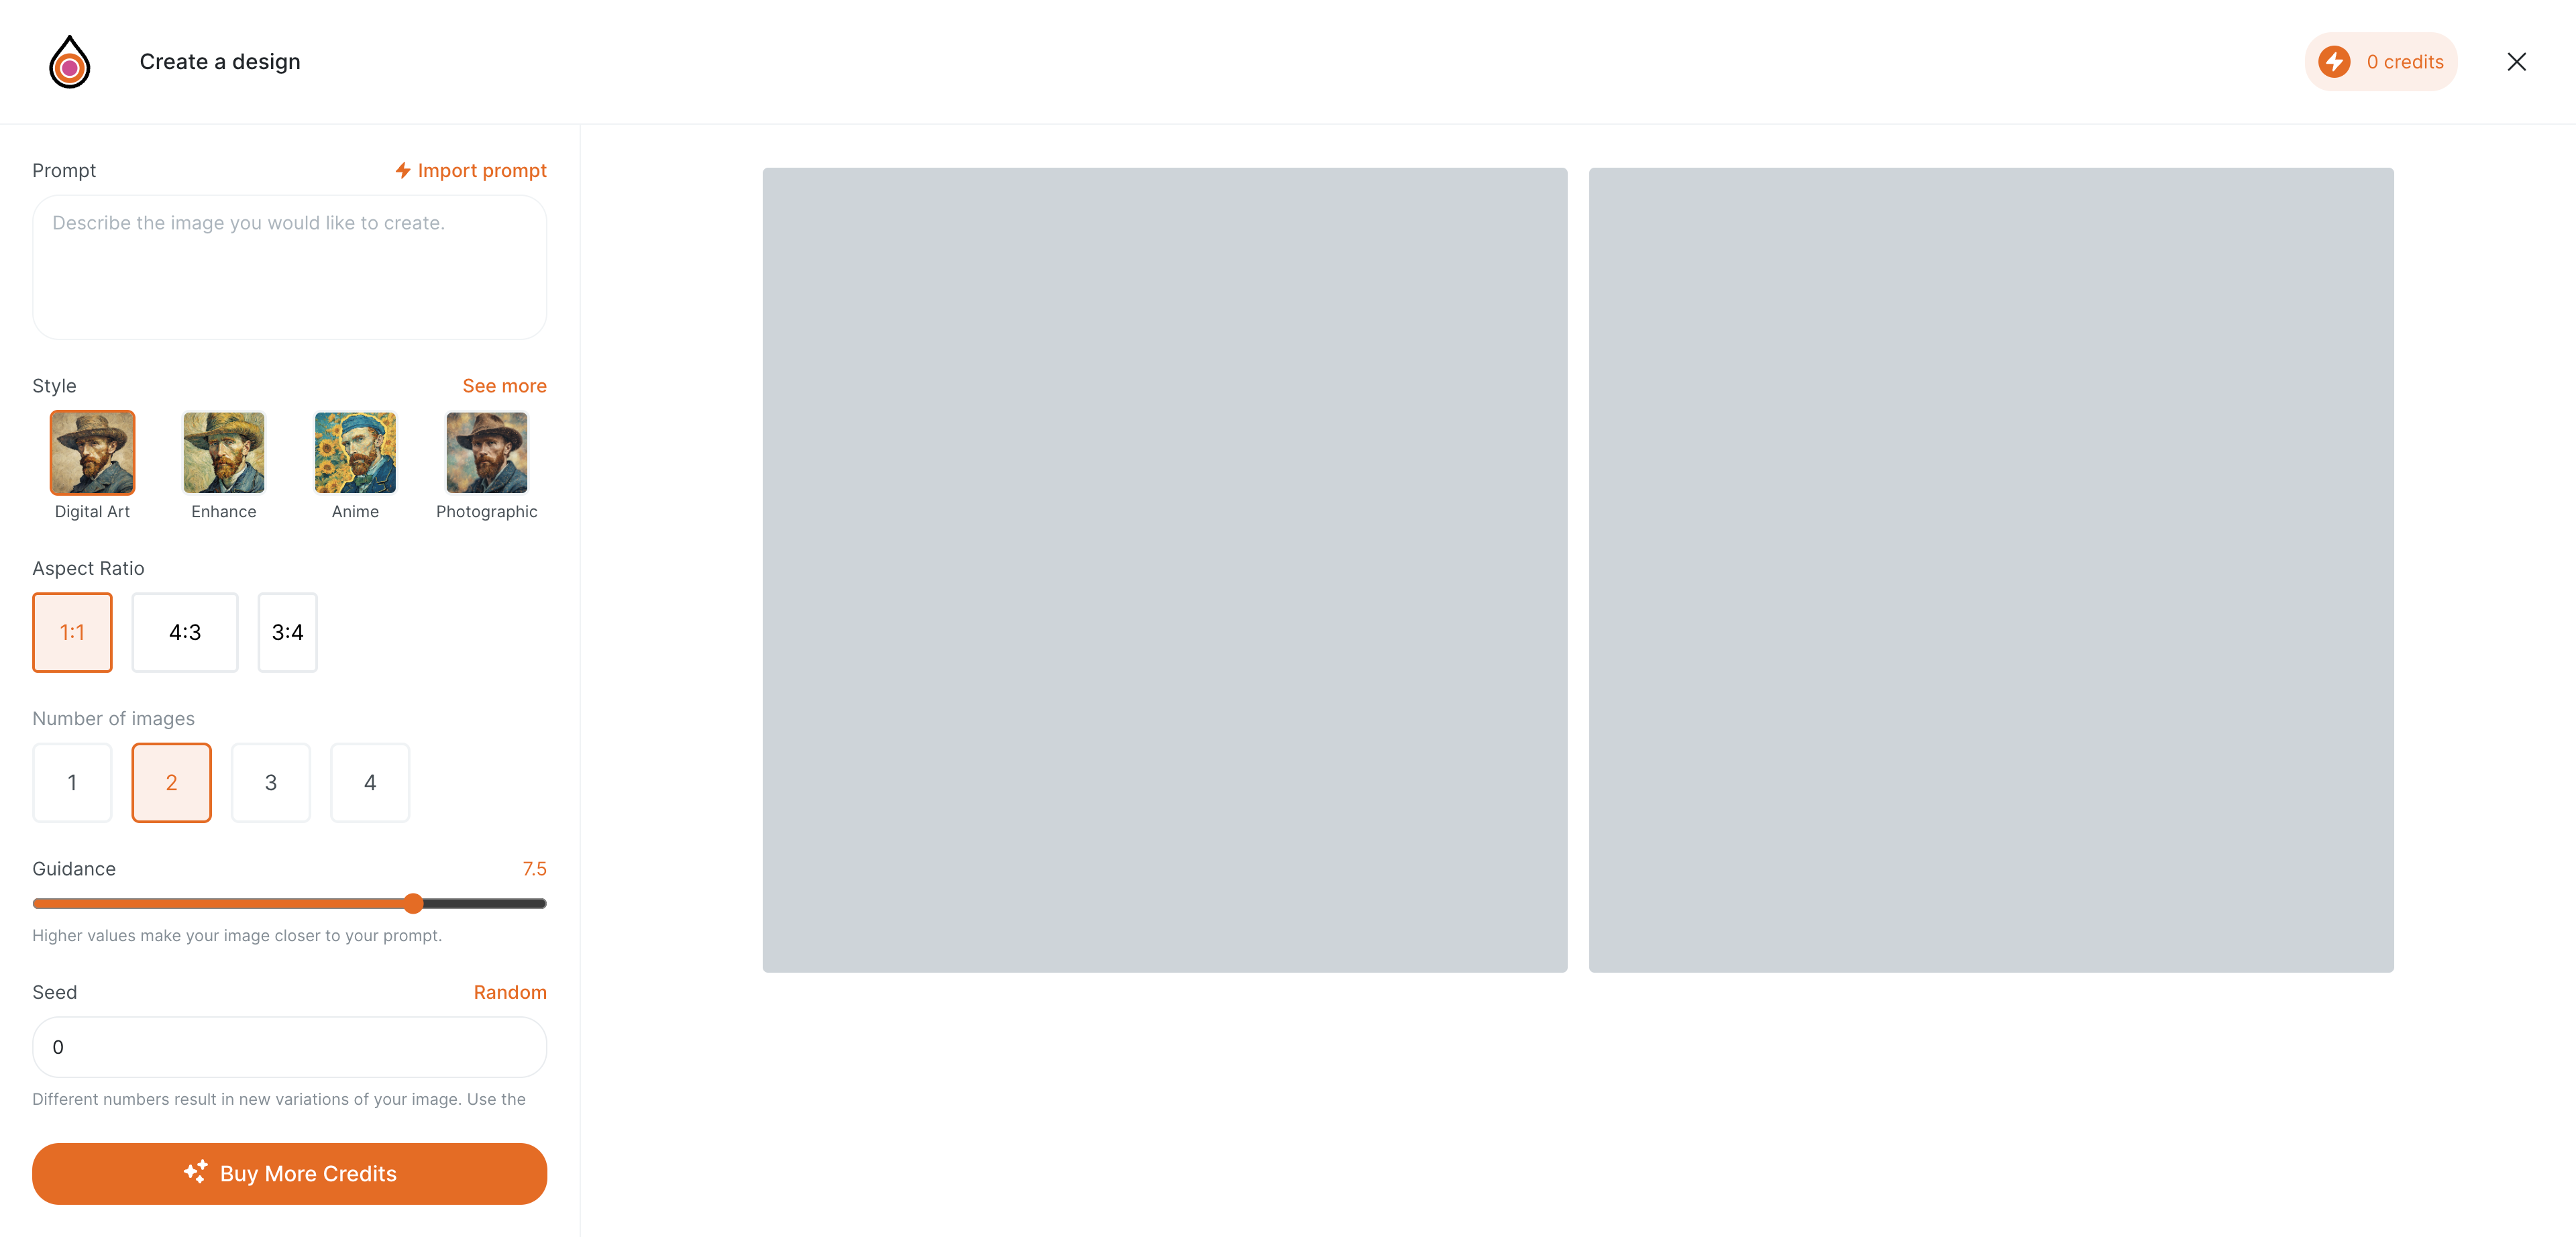
Step 4: Create Your First AI-Generated Design
Unleash your creativity and let PrintJourney's AI generate your first custom design:
- Click on 'Create Design' from the main navigation bar or dashboard.
- Use the 'Create Design' modal to input your design brief, select a style, and choose your aspect ratio.
- Hit 'Generate' and watch as PrintJourney's AI brings your ideas to life.
Remember, you can use the 'Brainstorm Modal' for inspiration or to refine your design prompts and create truly unique and trendy print-on-demand products.
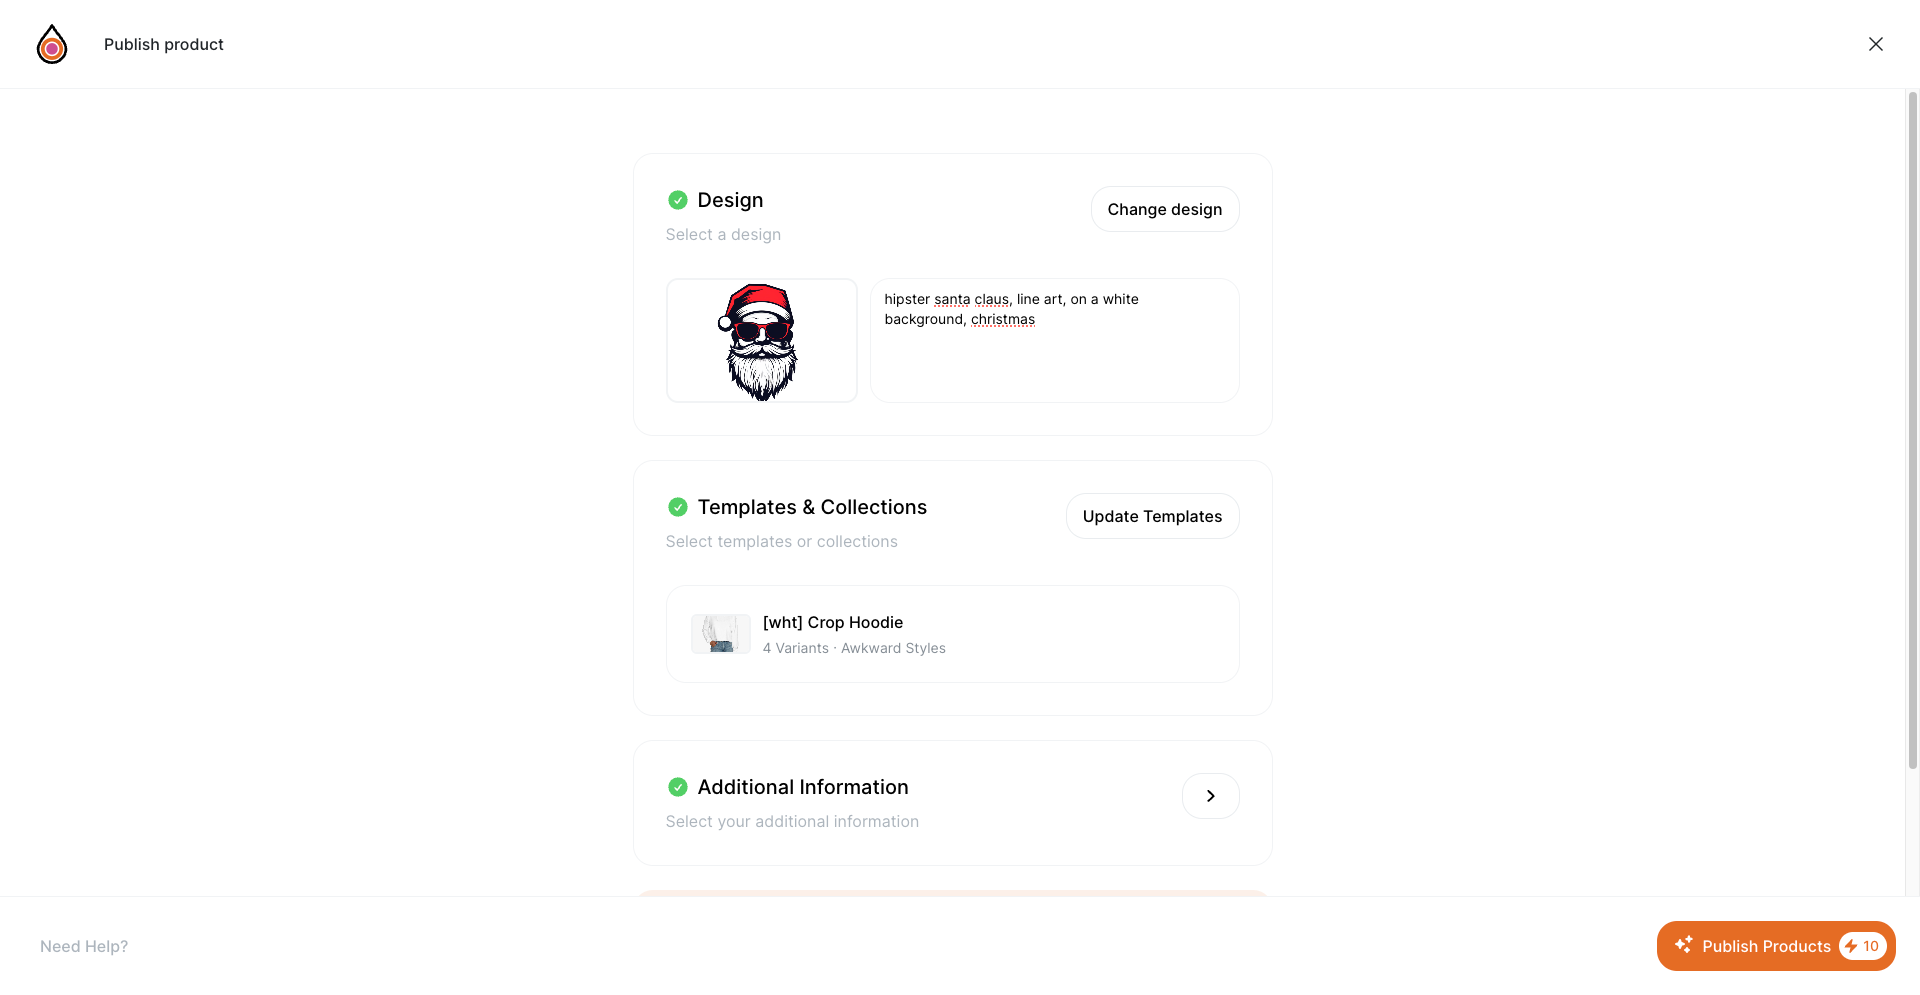
Step 5: Publish Your First AI-Generated Product
Now that you've created your first AI-generated design, it's time to turn it into a product and start selling:
- In the 'Products' section, click on 'Create Product'.
- Use the 'Create Product' modal to select your design, add product templates, and specify additional information.
- Click 'Publish' to launch your AI-generated product on your connected online stores.
Congratulations! You have successfully started your PrintJourney by creating and publishing your first AI-generated print-on-demand product.
Next Steps: Explore PrintJourney's AI-Powered Features
As you become more familiar with the basics of PrintJourney, explore the rich set of AI-powered features available:
- Use the 'Catalog' to manage your templates and collections for efficient product creation.
- Upload your own designs in the 'Designs' section for even more customization options.
- Dive deeper into 'Products' to manage your published, processing, and unpublished items with ease.
Thank you for choosing PrintJourney as your AI-powered print-on-demand automation solution. We can't wait to see the unique and trendy products you create – and sell – next!